Prisma3D animation, from first keyframe to final render
Prisma3D animation is the keyframe-driven motion system built into the app. You set a pose, move the timeline, change the pose, and the app fills the frames between them. This guide covers the three mechanisms behind that loop, the step-by-step run, and the edges where the toolset starts to feel limited.
The animation loop in one line
At its core, the animation loop is a two-pose process: mark where an object starts, mark where it should end, and let the timeline decide everything between. The feature set stays close to that idea, which is why the workflow is short enough to learn in one sitting.
Three mechanisms that make motion feel real
The animation toolset leans on three mechanics: key poses, timeline playback, and tweening. Prisma3D keeps each one intentionally simple.
Key poses
Each key stores the position, rotation and scale of an object at a specific frame. The first and last poses define the motion.
Timeline playback
The playhead runs through those keys at the project frame rate, so Prisma3D can preview timing before you render.
Automatic tweening
Between key poses, Prisma3D generates the in-between frames. That interpolation turns a stiff jump into a smooth move.
How to animate on Prisma3D: a short step-by-step
The quickest way to see the loop in action is to animate a primitive sphere before building a full scene.
- Open a scene and select the object you want to move.
- Put the playhead at frame 0 and tap the keyframe button to store the start pose.
- Move the playhead forward and change the object’s position, rotation, or scale; the app adds a second key.
- Play the timeline and watch the interpolation; adjust the spacing of the two keys if the motion feels too fast or too slow.
- Render the animation to a video or GIF and export the finished clip from Prisma3D.
Next step Open the app and try a two-key loop
Who gets the most from animation
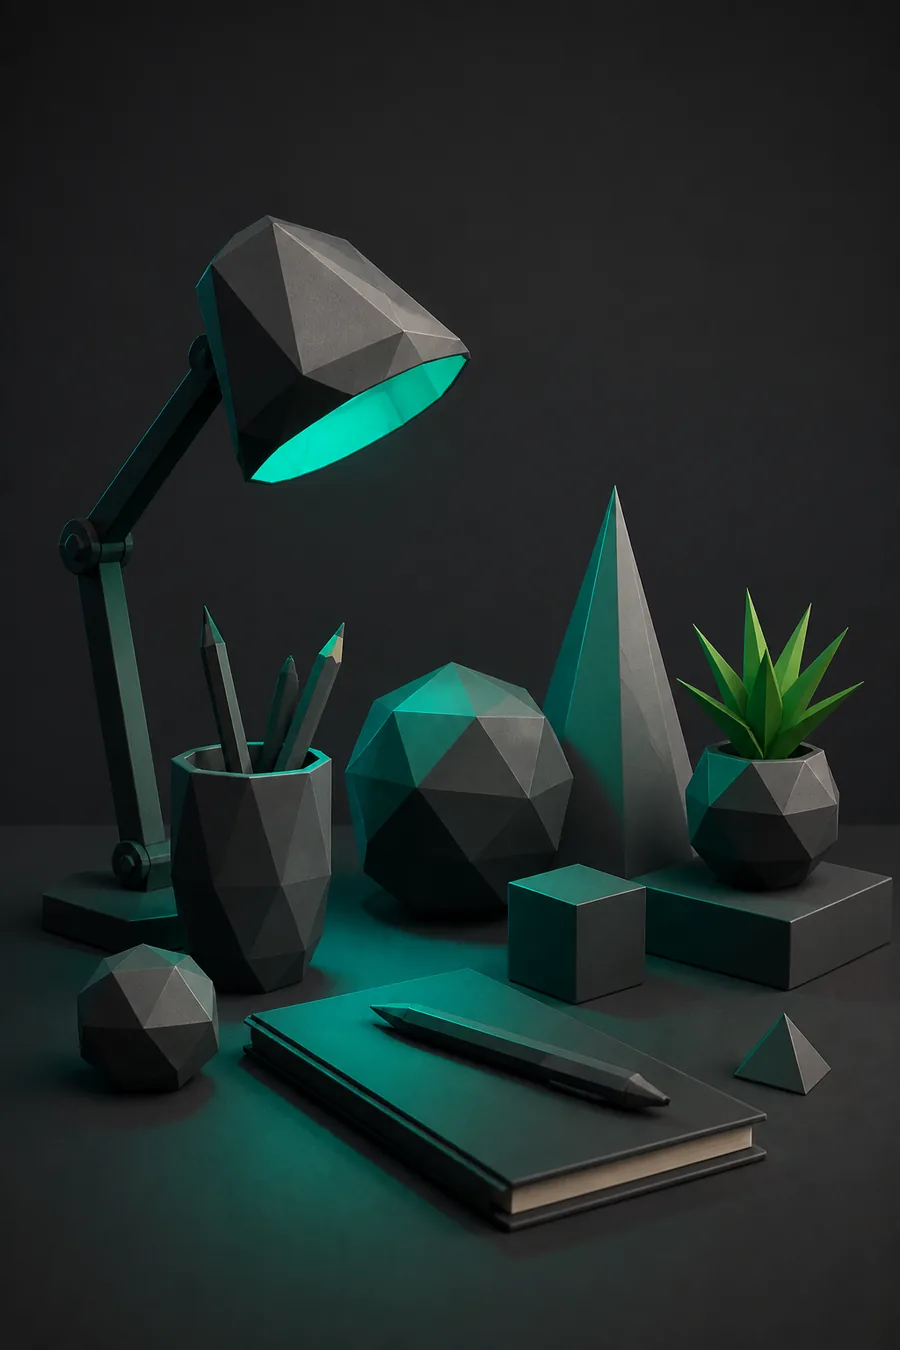
Builds low-poly characters and needs a reliable walking cycle. A clean export path keeps the rig usable; Prisma3D import 3D models is the route to check first.
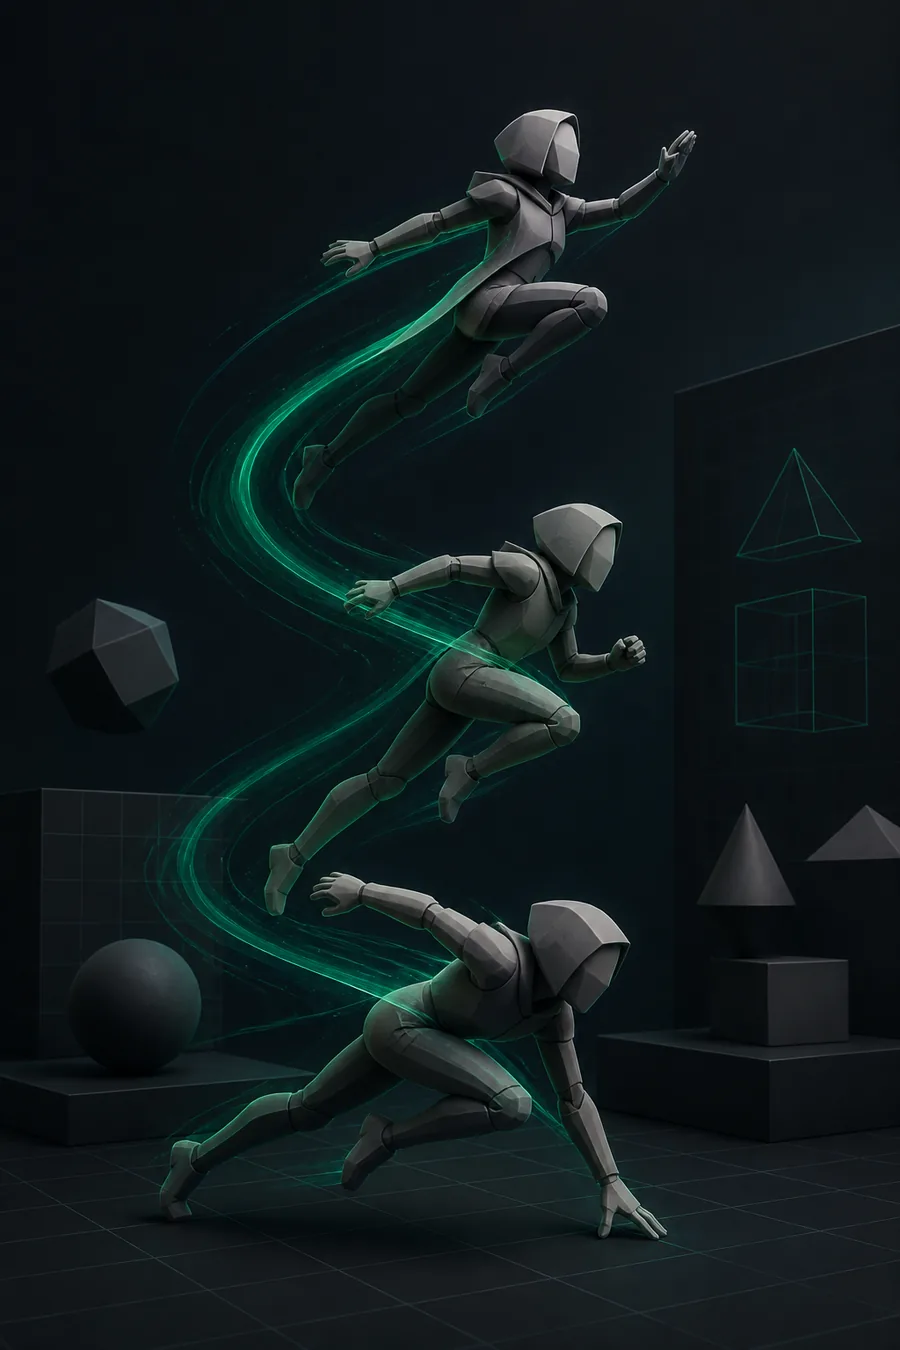
Makes quick looping clips for social feeds. Starting from a clean mesh, Prisma3D 3D modeling reduces the stretching you see when the tween runs fast.
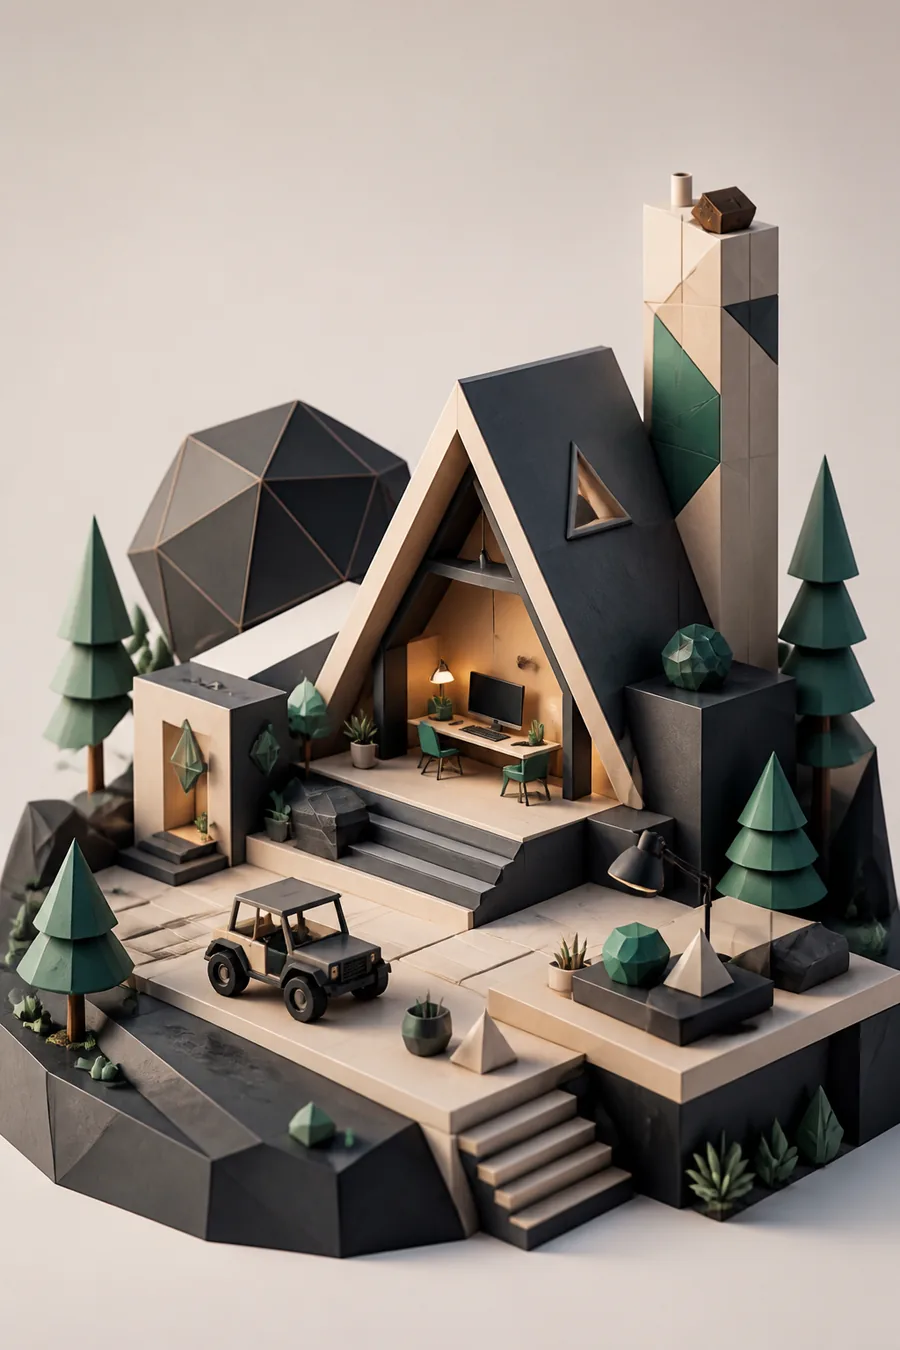
Animates a spinning object showcase for a portfolio. The whole shot can start as a blank grid, so the Prisma3D 3D model maker workflow is the part to review before adding keys.
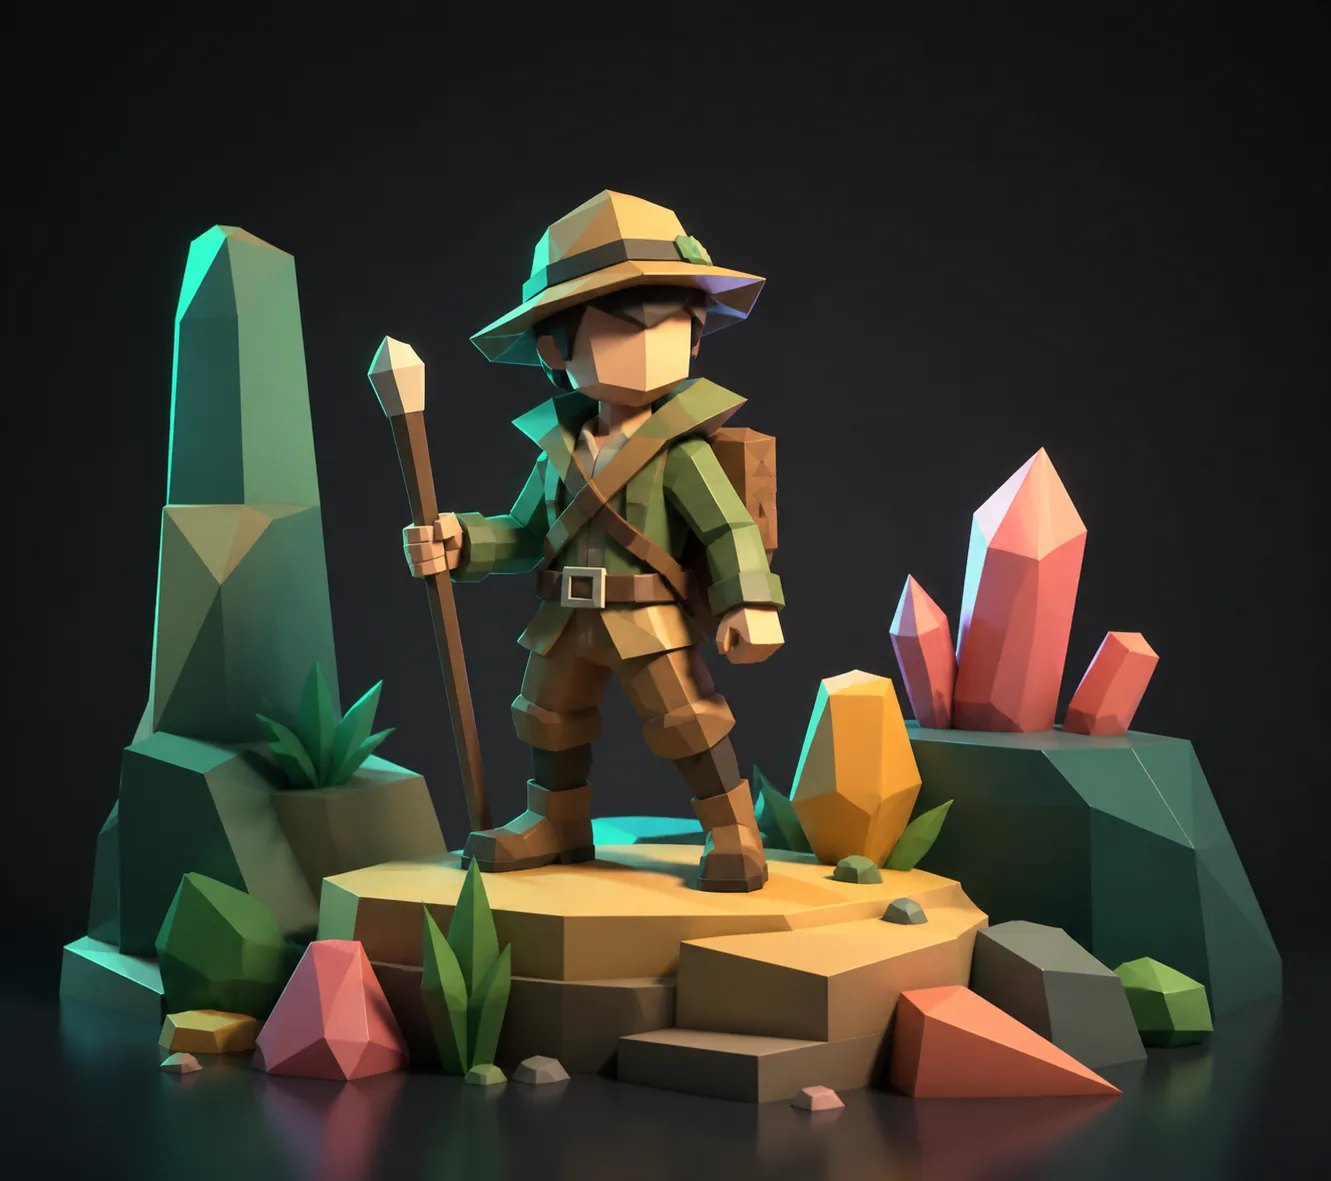
Tests timing on primitive shapes before touching characters. A guided walkthrough of how to use Prisma3D is enough to get the first loop moving.
Where the animation toolset starts to feel limited
The limits show up quickly. Prisma3D has no graph editor for spline tuning, so you shape motion with key spacing and timing rather than curves. The numbers below describe the practical edges you will notice.
Before and after the keyframe pass
The two frames show the same viewport before and after a short keyframe pass. What changes between them is the motion, not the model.
Related reads before the FAQ: Prisma3D 3D modeling covers mesh prep for cleaner interpolation, Prisma3D 3D model maker explains building a scene from a blank grid, and Prisma3D import 3D models walks through bringing external assets into the timeline.
Prisma3D animation FAQ
What does animation in Prisma3D mean?
In Prisma3D, animation is the keyframe-driven motion system in the app. You set a pose on the timeline, move the playhead, change the object, and the app generates the frames between the two keys. It is used for character walks, camera moves, object spins, and short looping clips.
How do I animate on Prisma3D?
In Prisma3D, pick an object, place the playhead at frame 0, tap the keyframe button, move the playhead forward, change the object’s position, rotation, or scale, then play the timeline. Repeating the sequence builds longer movement; rendering exports the final clip.