Create a new project
Open the project screen, tap New, pick a grid size, and use the Default render preset. A 4K grid is enough for most phone models.
Prisma3D puts a full 3D modeling and animation suite in your pocket. This guide walks through how to use Prisma3D from the moment the app opens: setup requirements, a five-step workflow that keeps scenes clean, the mistakes that eat beginners' time, and a few habits that make later projects faster. If you haven't installed it yet, our overview of what is Prisma3D explains the app's place in mobile 3D, and Prisma3D for beginners offers a slower, gentler route. When you're ready, open Prisma3D and work through the checklist below.
Before you start
Most setup problems come from a slow device or a missing sign-in, not from the modeling tools. Tick off the required items and the rest of the guide runs smoothly.
The core loop
Every Prisma3D project follows the same loop: block out, texture, animate, render. These five numbered steps take you from a blank grid to a scene you can share. The modeling tools have their own guide if you want more depth later.
Open the project screen, tap New, pick a grid size, and use the Default render preset. A 4K grid is enough for most phone models.
Drag a cube or cylinder from the shapes tab into the scene. Use the move, scale, and rotate gizmos to rough out the silhouette before touching materials.
Select a face or whole object, open the material editor, and use a color or PBR texture. Keep roughness low on shiny surfaces so the model reads clearly.
Switch to the animation tab, add a keyframe at frame 1, move the model, then add a second keyframe a few frames later. Prisma3D fills the in-between motion.
Open the render menu, choose the frame range, pick PNG sequence or video, and export. Prisma3D auto-saves the project to your cloud backup.
Related guides
Before you test the workflow, keep these guides within reach:
Typical mistakes
Three failures cover most beginner scenes: a model that looks flat, animation that jumps, or a render that comes out dark. Each has a quick fix once you know where to look; the comparison below shows the same scene before and after the fixes.
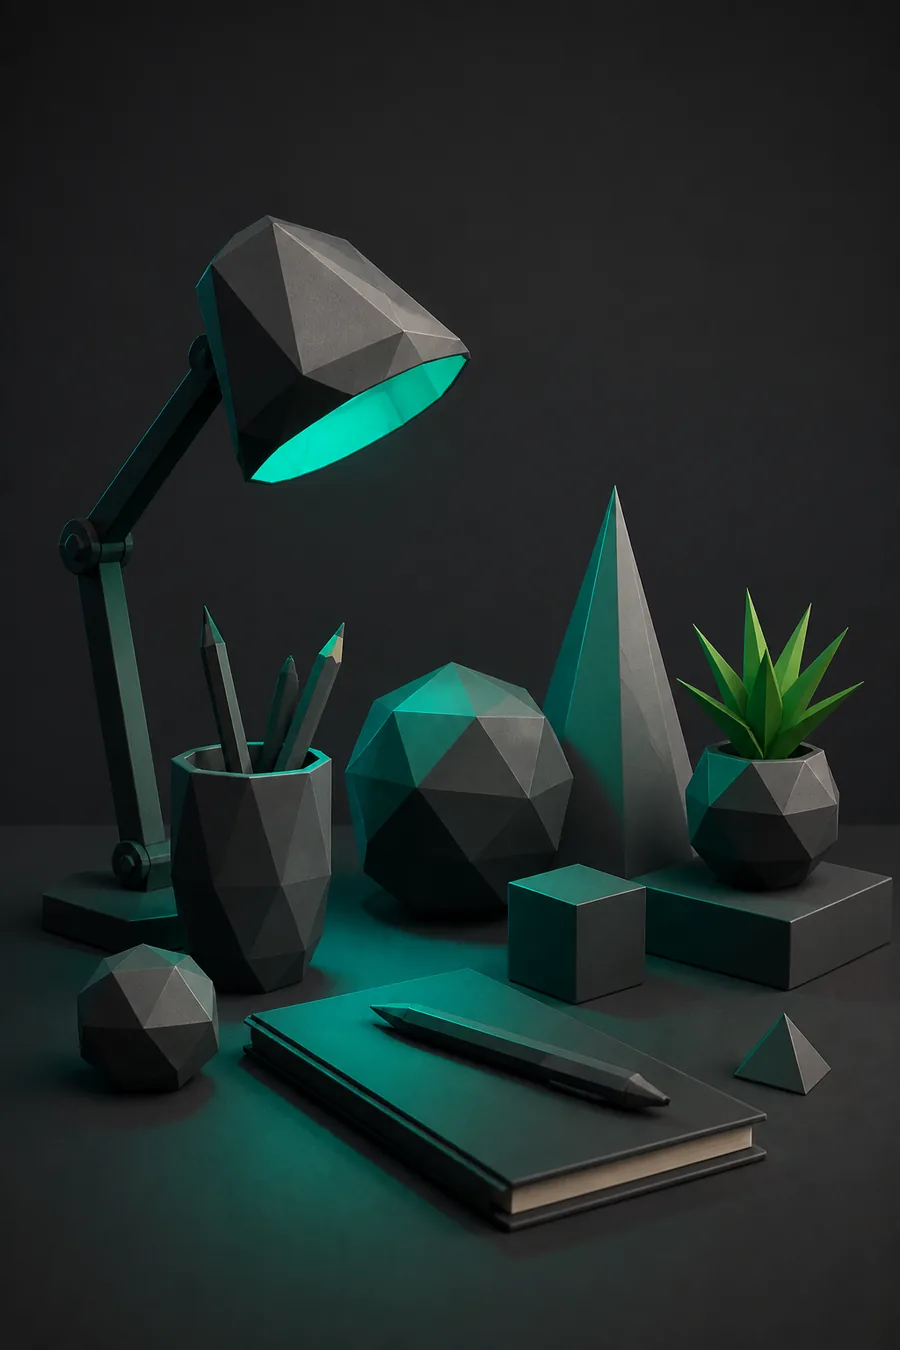
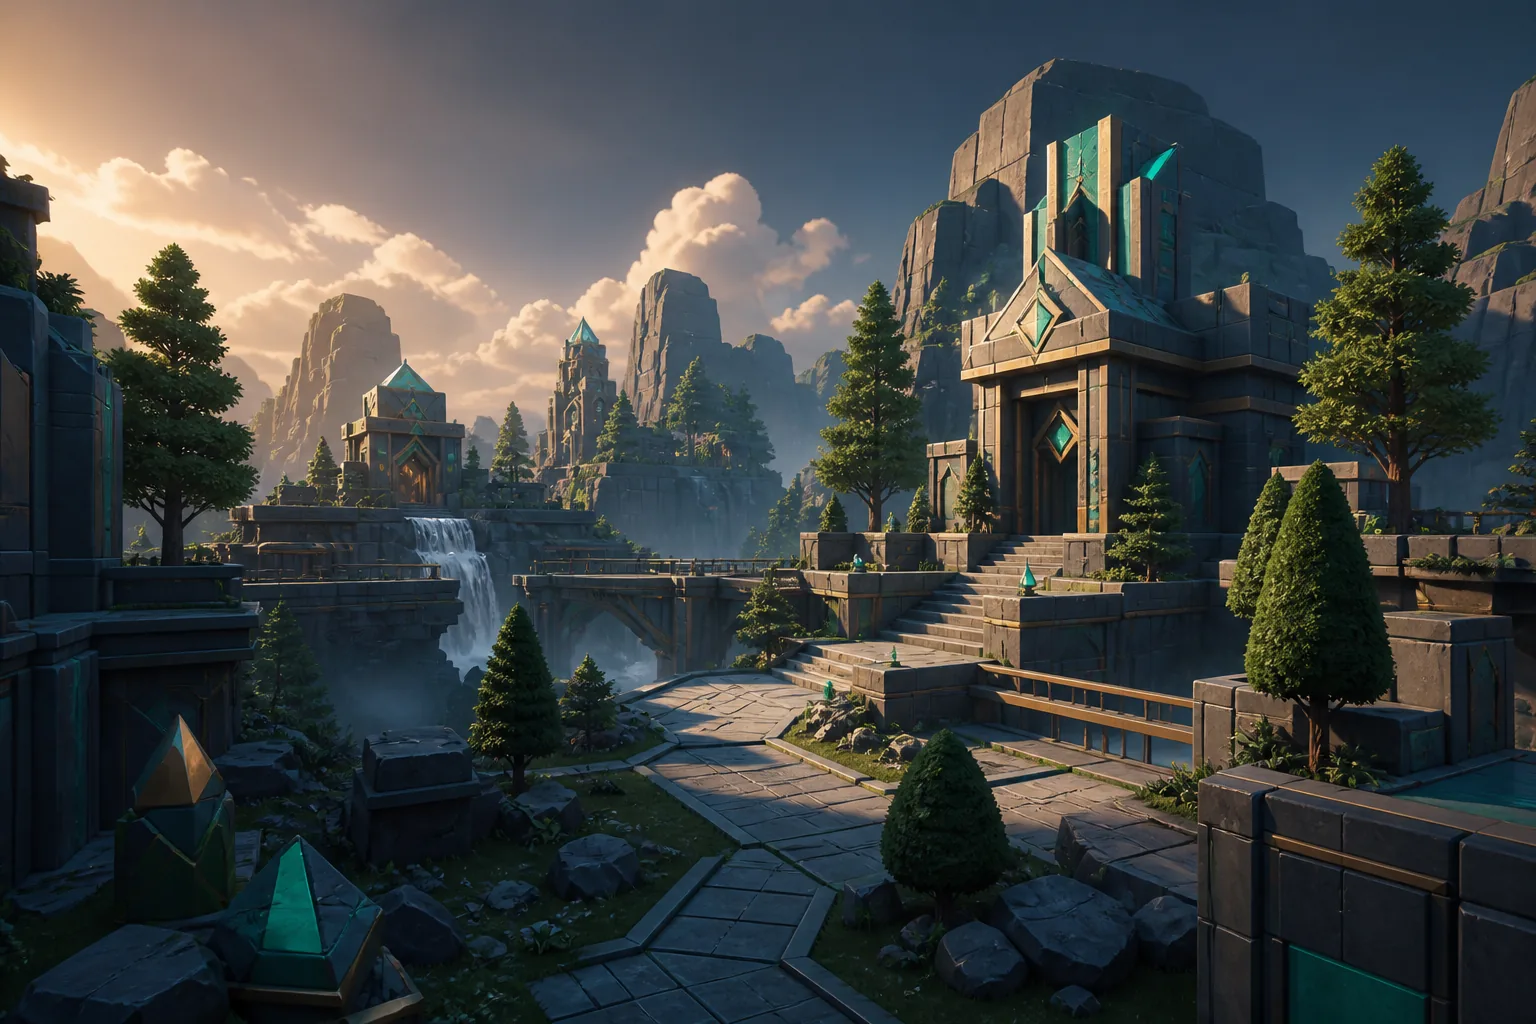
Flipped normals make surfaces look transparent; select the face and apply Flip Normal. A jumpy animation usually means keyframes are too far apart, so add intermediate frames. A dark render almost always means no light source — place a directional light before exporting.
Working smarter
Prisma3D has grown from a simple block-model app into a keyframe animation tool. The order in which features arrived explains the current interface, and each milestone carries a habit that makes the workflow faster.
The app starts as a lightweight modeler where every object begins as a primitive shape. The habit of blocking out with cubes still anchors the workflow today.
The material editor transforms flat gray objects into painted surfaces. Assign materials early, not after the model is complete, so the preview matches the final render.
The animation tab makes frame-by-frame movement possible. Set the first and last keyframes, then let the app fill the in-betweens.
Render controls for directional light and soft shadows appear. Place a light in the first minute of a project, not the last, to avoid a dark export.
One-tap export to video and image sequences becomes standard. Reuse saved scenes from the gallery instead of rebuilding a common object from scratch.
Start a one-object practice scene when you finish reading, then open Prisma3D and run the workflow once without the guide.
Honest limitations
The workflow above covers the happy path. These limits are worth knowing before you invest hours in a scene.
Prisma3D is a mobile app. Desktop use requires an Android emulator, which can feel sluggish for large scenes.
Workaround: use Prisma3D online for quick desktop tests.
The block-based toolset is not aimed at sculpting or high-poly characters.
Workaround: block out in Prisma3D, export, and refine on desktop.
Heavy particle counts and many visible objects can drop the frame rate on low-end phones.
Workaround: hide layers you are not editing and keep the render resolution at Default.
There is no full modifier stack yet, so repetitive changes take a while.
Workaround: duplicate finished objects before editing and keep a reusable parts library.
Common questions
Start with the default project and one simple shape, like a cube or sphere. Apply a single material, add a light, and render before you animate. Keeping the first scene to one object makes the interface readable, and every skill you practice here carries into larger projects.
Switch to the animation tab, move the playhead to frame 1, and add a keyframe. Move the model a few frames later, add a second keyframe, and press play. For smoother motion, add intermediate keyframes between the start and end poses.
No. The shape-based workflow is designed for first-time modelers. If you can move and scale cubes, you can outline a character in your first session — the steps in this tutorial are the same ones used in bigger projects.
Model a single still scene first, then add animation. That order matches the steps in this tutorial: build the shape, assign materials, light it, render once, and only then add keyframes for motion.